Recently I received some X&D Nail Stickers from a company called
KKcenterHK that was nice enough to reach out to me to do a review for them. I was really excited to try them out thinking that they were going to be similar to the Sally Hansen Salon Effects. To my surprise, upon receiving them, I found that X&D Nail Stickers are actually not stickers at all!! They are water decals, actually. I was pretty excited about it anyway, since I had never tried water decals before. I got them in a super cute tulip/floral pattern on a white background (#14 on the website under X&D).
Let me start off by saying that the people at
KKcenterHK are very friendly and customer service was great. They let me pick out the pattern I wanted and everything. Shipping was really fast considering they are an overseas company. Anyway, onto the review!!
*Please keep in mind that this was my first experience with water decals, and I may have made a few mistakes/done something differently than you would have.*
Application (forgot to take pics, oops!)
1. Started with clean, dry nails
2. I cut out all the decals and fitted them to my nails as best as I could
3. Let them soak one at a time on the water surface for about 30 seconds/until the decal peeled up
4. I took tweezers and positioned the decal on my nail and moved it around until it was in a position I was happy with
5. I took a cotton round and pressed down firmly until it stuck to my nail
6. I used the cotton round to smooth out any wrinkles until the decal was completely smooth on my nail
7. I lightly filed away the excess
8. I added topcoat and I was finished
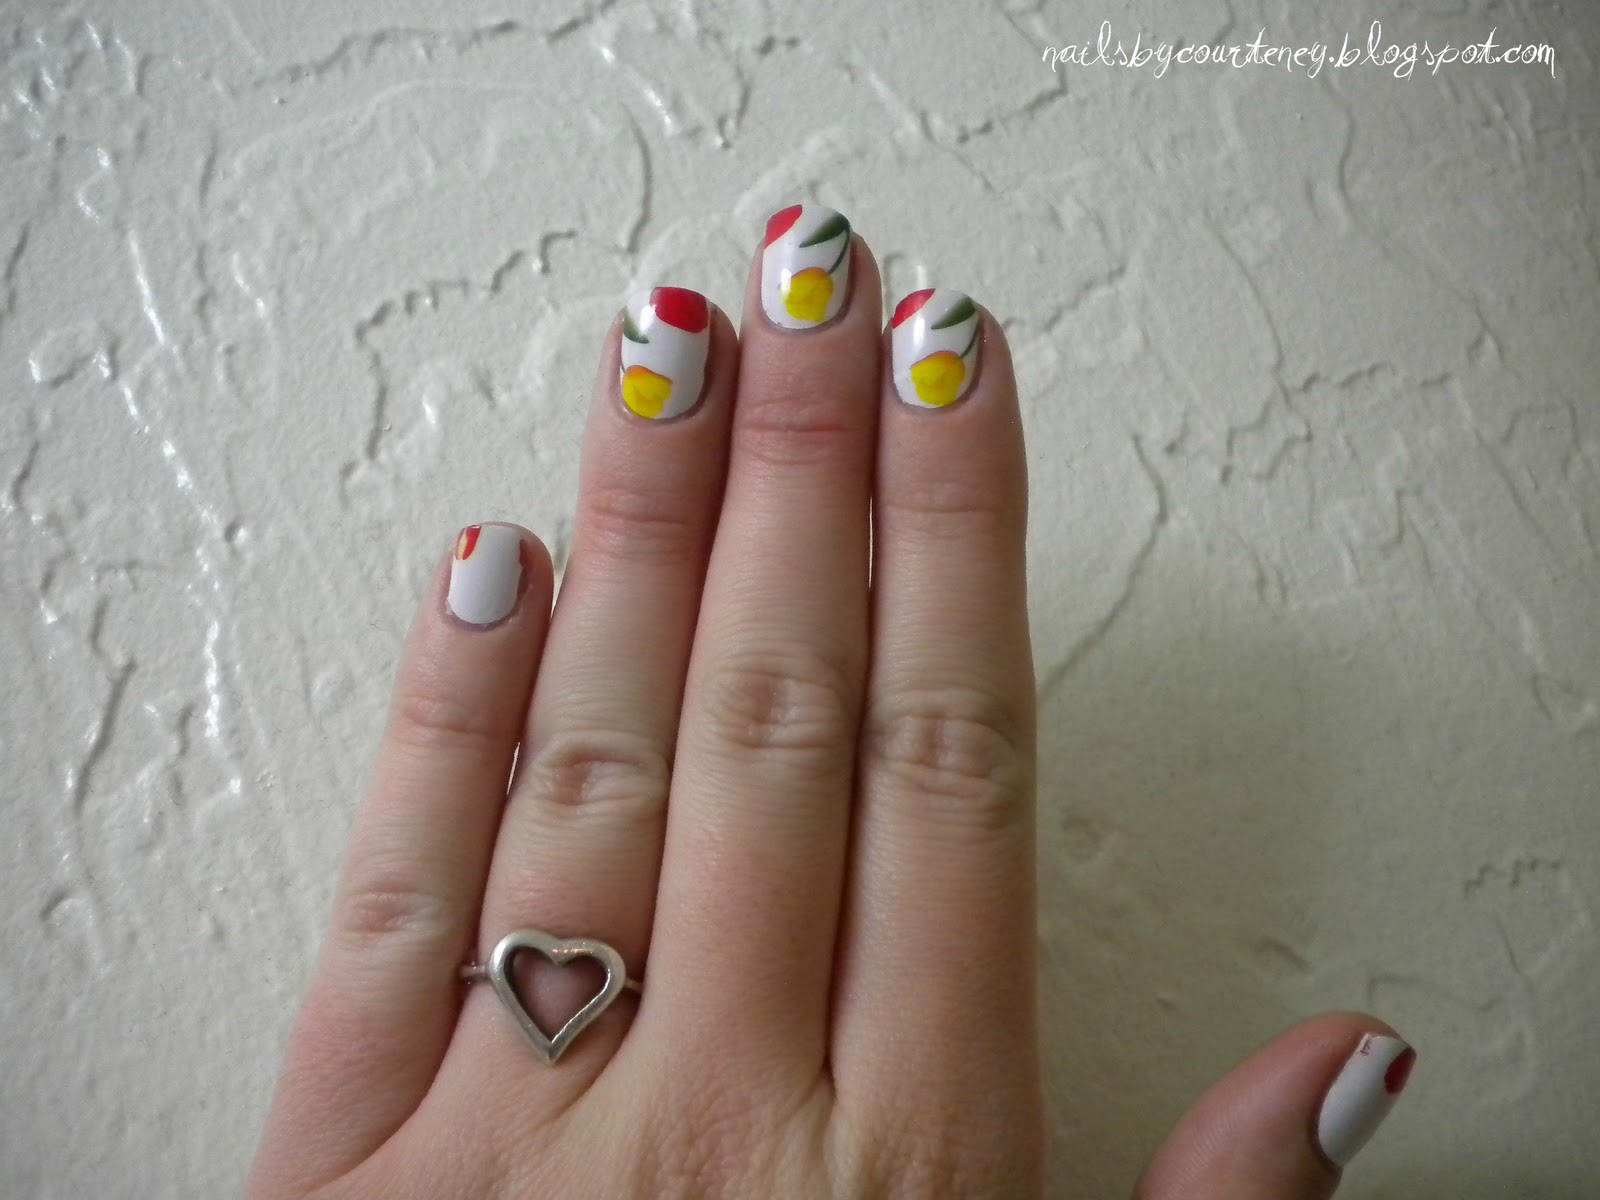
Here's the final result right after application:
 |
| Left Hand |
 |
| Right Hand |
Adding topcoat was a huge mistake, in my opinion. This is what happened when I fussed with the topcoat application too much:
 |
| Right Thumb |
It basically started crumbling. I tried not applying topcoat at all, but the decal started peeling up right away.
By applying topcoat very sparingly and with only a few strokes, this is what happened:
 |
| Left Thumb |
Much better, yes?
Immediately after applying these, I was really pleased with the outcome. Considering I was a first-timer, I thought it came out pretty good and I was OK with the application process being difficult because they looked pretty nice. As you can see, my nails are pretty short and the whole design didn't show up on my nail. I expected this going in, though. Like I said, topcoat presented an issue for me. The decals started to crackle and fall apart as I was applying it. I resolved this by applying topcoat very quickly and sparingly. Now, I thought that these were going to last a long time, but I was very shocked at how little they held up. They lasted for less than 24 hours. I applied them yesterday evening, and this morning after my shower, they started popping off. They came off all in one piece. I think I probably should have used a base coat?? I tried to watch some tutorials on applying water decals, but none of them were consistent on procedure. I feel like they would have stuck on better if I would have used base coat :/
Here's my list of pros and cons for you to consider:
Pros
There are a ton of patterns and designs available
They look great while freshly applied
They were the perfect shape for my nails. I only had fitting problems with 2 nails
They are very affordable at only $4.74 per set
KKcenterHK customer service is very friendly and efficient
Cons
Lasting power is very poor
Application was difficult and time consuming
Not topcoat friendly, I tried three different ones
 |
| Too bad it couldn't have stayed like this, right?? |
*The product in this post was sent to me for review. All opinions are completely honest and have not been influenced whatsoever.

.JPG)


.JPG)